Browse Records & Quick Editor
Overview
BestMARC's Browse feature lets users scan through records one at a time, with a view of the entire MARC record. Functions allow you to print, open the record for editing in the full MARC cataloger, or edit fields you select in the Quick Editor.
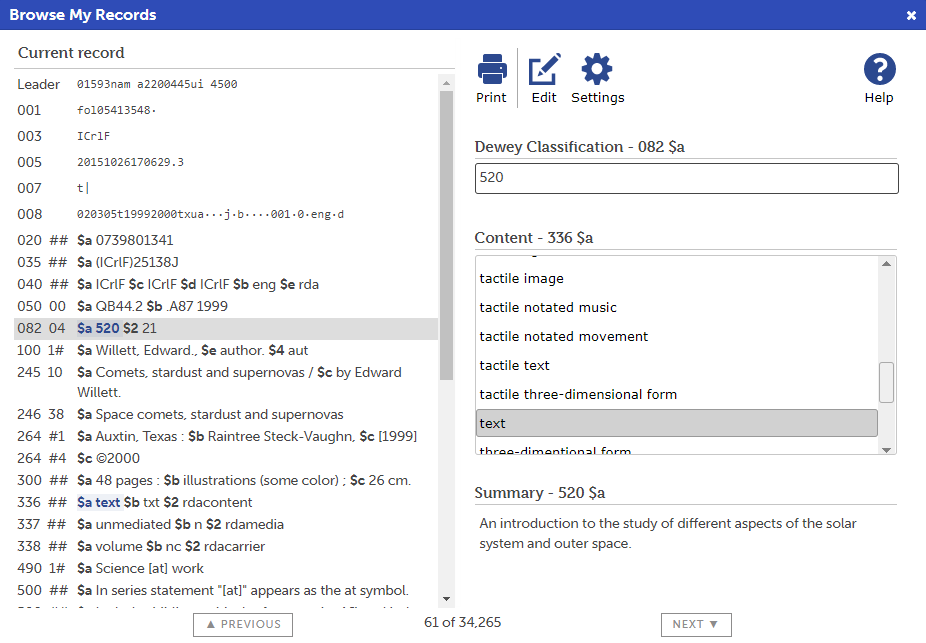
The right side of the page contains the BestMARC Quick Editor. The Quick Editor is completely customizable, showing edit controls for just the configured subfields. Controls can be either freeform text-entry or lists containing just the values the user wishes to show.
Edits made here are automatically saved when moving to a different record or closing the Browse dialog.
Browsing Records
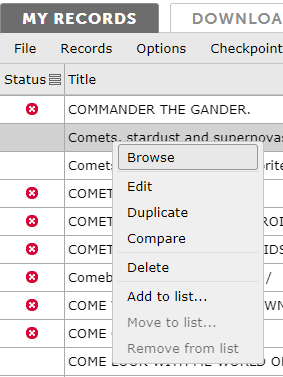
Right-click a record in My Records and choose Browse.
The Browse My Records dialog opens:

Your record appears on the left side of the dialog. The Quick Editor appears on the right.
These controls can be used on this dialog:
Print - Send the current record to your printer
Edit - Open the current record in the full MARC cataloger for editing
Settings - Configure the subfields to edit in the Quick Editor
Help - Open this help document
Previous - Navigate My Records to the previous record and reload the dialog
Next - Navigate My Records to the next record and reload the dialog
Quick Editing Records
The right side of the page contains the BestMARC Quick Editor.
For each of your visible configured settings, a Quick Edit Control for each matching subfield is displayed. If there are no matching subfields, an empty control is displayed.
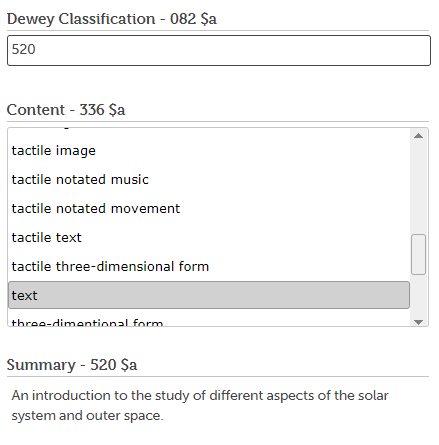
For Textboxes, click into the control to focus it and make changes as desired. If you've configured any Values for this subfield, an auto-complete box will appear under the textbox as you type with suggestions.
For Listboxes, only the Values you've configured are shown. Click on the value you wish to use, or click None (delete this subfield) at the bottom of the list if you wish to remove this value.
Edits made in the Quick Editor are automatically saved when moving to a different record or closing the dialog. ISBD punctuation is automatically updated when the record is saved according to the option you've set in your Profile.
Settings
On the Browse dialog, click the Settings button. The Quick Edit Settings dialog appears.
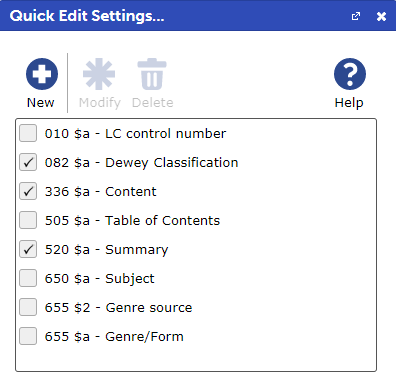
Each of the Quick Editor controls that have been configured appears in the list.
The checkbox identifies which controls are visible. Uncheck controls to hide them from the editor, for instance to edit different different parts of the MARC record at different times.
New - Create a new Quick Edit control
Modify - Change the selected control's settings
Delete - Delete the selected control
Help - Open this help document
Modify Control
On the Quick Edit Settings dialog, click New to create a new control or Modify to change the selected one. The Modify Quick Edit Control dialog appears.
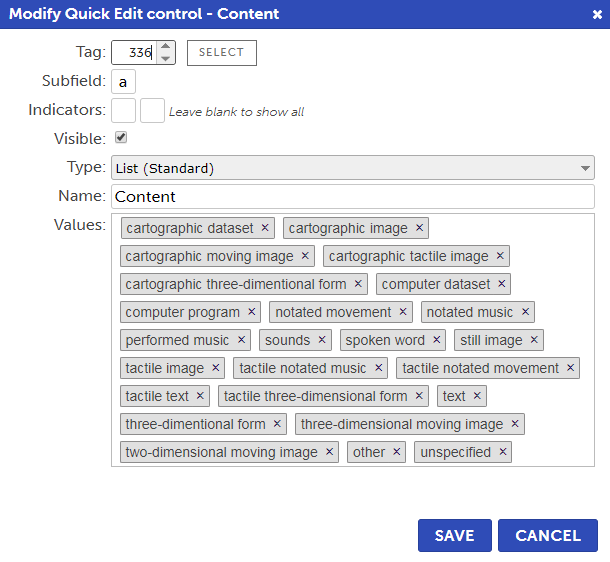
Enter the following fields:
Tag - The MARC data field tag to edit (010-999). Click the Select button to select Tag and Subfield by name.
Subfield - The MARC subfield identifier to edit.
Indicators - If you want to restrict editing to just data fields with specific indicator values, enter them here. Otherwise, leave this blank.
Visible - Whether this control is visible. Hide controls if you don't want to display them now but want to show them again in the future. This matches the checkbox on the Settings dialog.
Type - The type of editing control to use
Textbox - Freeform text editing
List (Standard) - Select from a list of values you enter. This is a set height and shows a scrollbar for any items that exceed that height.
List (Auto-height) - Select from a list of values you enter. The height is set automatically based on the number of items in the list and does not use a scrollbar. Use the Quick Edit pane's scrollbar to scroll through the list.
Name - The name of this control that is displayed in the Quick Editor. This is automatically set based on the Tag and Subfield you choose, but can be changed to any text. The control automatically adds the tag and subfield to the end of the name.
Values - Enter common or standard values that go in this subfield. If this is a textbox, these values display as an auto-complete list as you type. If this is a list, these are the possible values to choose from.
Click Save to save your changes.